Documentation

Last updated: 22 FEB 2023

App Updates

Update Version 1.1 to 1.2

1. Download the latest version from Envato Market and Extract the downloaded Zip file.
2. Navigate to Folder name "Update from V1.1 to 1.2"

apply patch file in Android Studio -> VCS -> Apply Patch.
                                            
Steps to apply Patch in Android Studio :
1. In Menu, click "VCS", and select the "Apply Patch". .

2. Navigate to downloaded folder and select the PATCH file.

3. Click Okay, and That's it. if you get any conflicts try to merge both[In most case you won't face this.]

Update Version 1.0 to 1.1

1. Download the latest version from Envato Market and Extract the downloaded Zip file.
2. Navigate to Folder name "Update from V1.0 to 1.1"

Update or replace this "build.gradle" file in "\app\build.gradle" path location.
                                            

Android studio

Download Android studio

To use this project you need to download the android studio on your computer first you need to visit this link (click button below) then click the button "DOWNLOAD ANDROID STUDIO" to get the latest version for your system

Download Android studio


Install Android studio

After Download the Android Studio you need to install it on your PC/MAC.


Follow the steps here to install -> Official Google Docs

Open Project in Android studio

Now you need to open the Android Application on Android Studio just follow the steps below to open the project .

1. In Menu, click File > New > Import Project, and select the project file. .


Config Android Project

After Download , install and open the project on Android Studio , now you need to config your source code and make it ready by change package name config.


Change the package name

Every Android Application on Google Play has a unique package name (unique id) , for this application too we need to use a unique package name , for that you need to choose a unique package name (ApplicationId) with three part for example : com.companyname.appname , now to change you package name follow thesteps below. :


1. right click and change the package name as whatever you want. (should be Unique)"


Please note

  • The only special characters allowed on package name its underscore
  • Don't change the "com" part on package name
  • Google will not allow you to change the package name after publish the app on google play

Configure Premium Stickers

To configure the sticker pack as premium, create sticker pack list as normal and change the "is_premium" parameter to true.

Firebase Configuration

After Change package name now you need to config the firebase (firebase its a google service used to send notification)

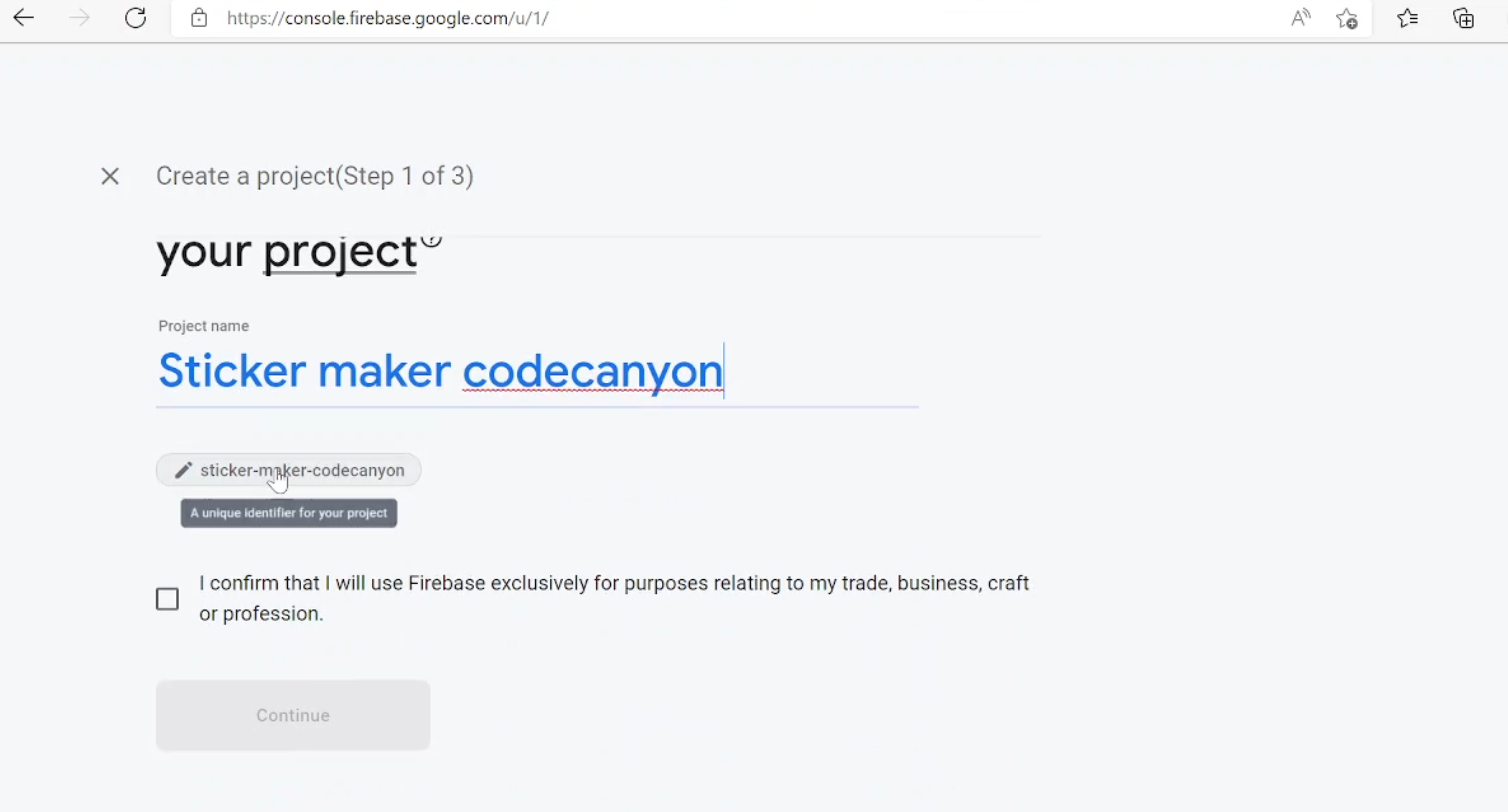
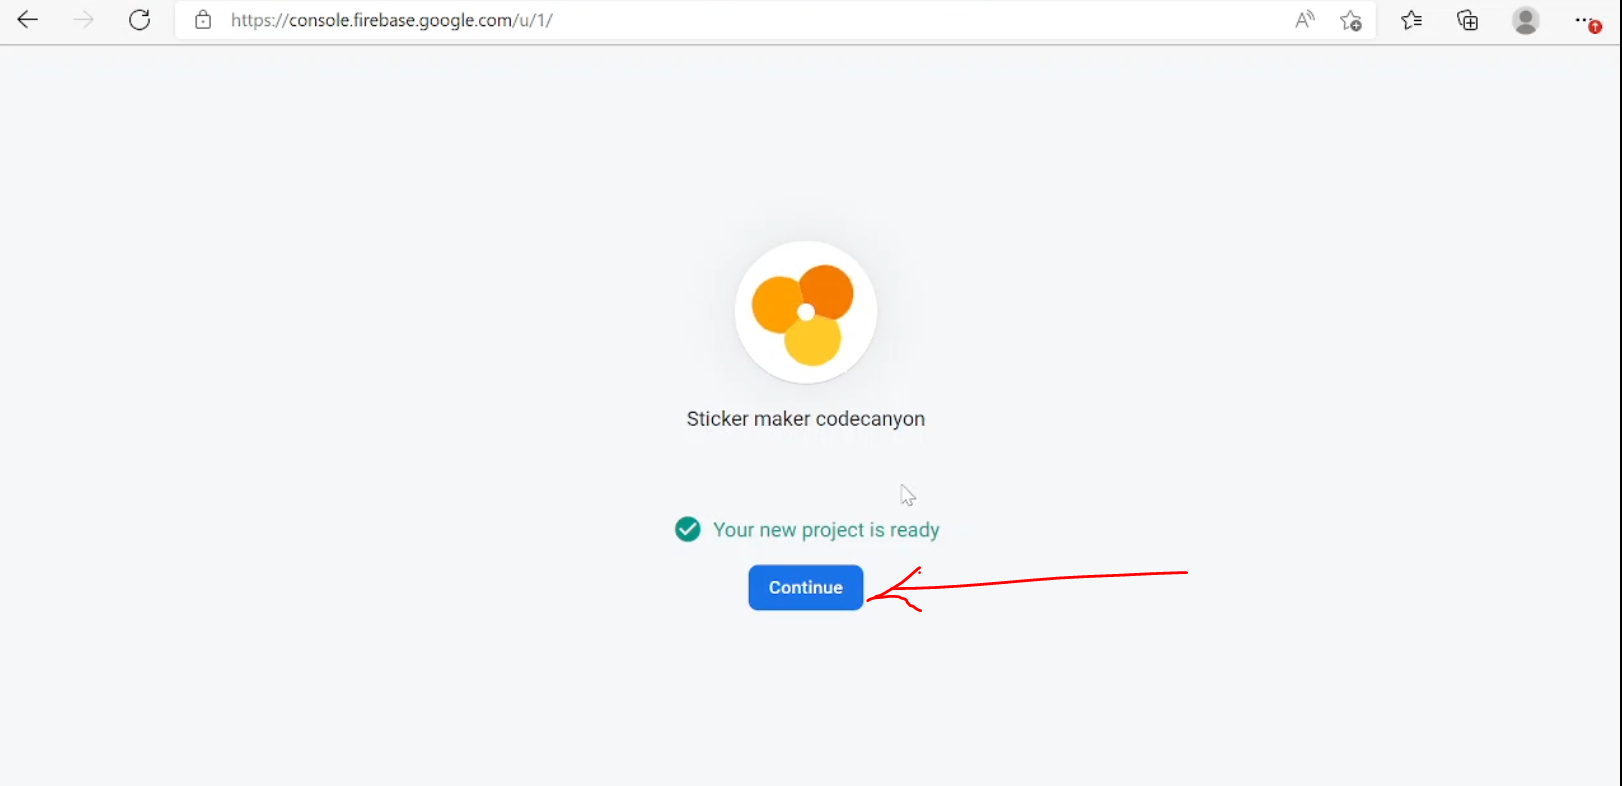
1. Go to Firebase Console, create new project - "Name the project whatever you want."


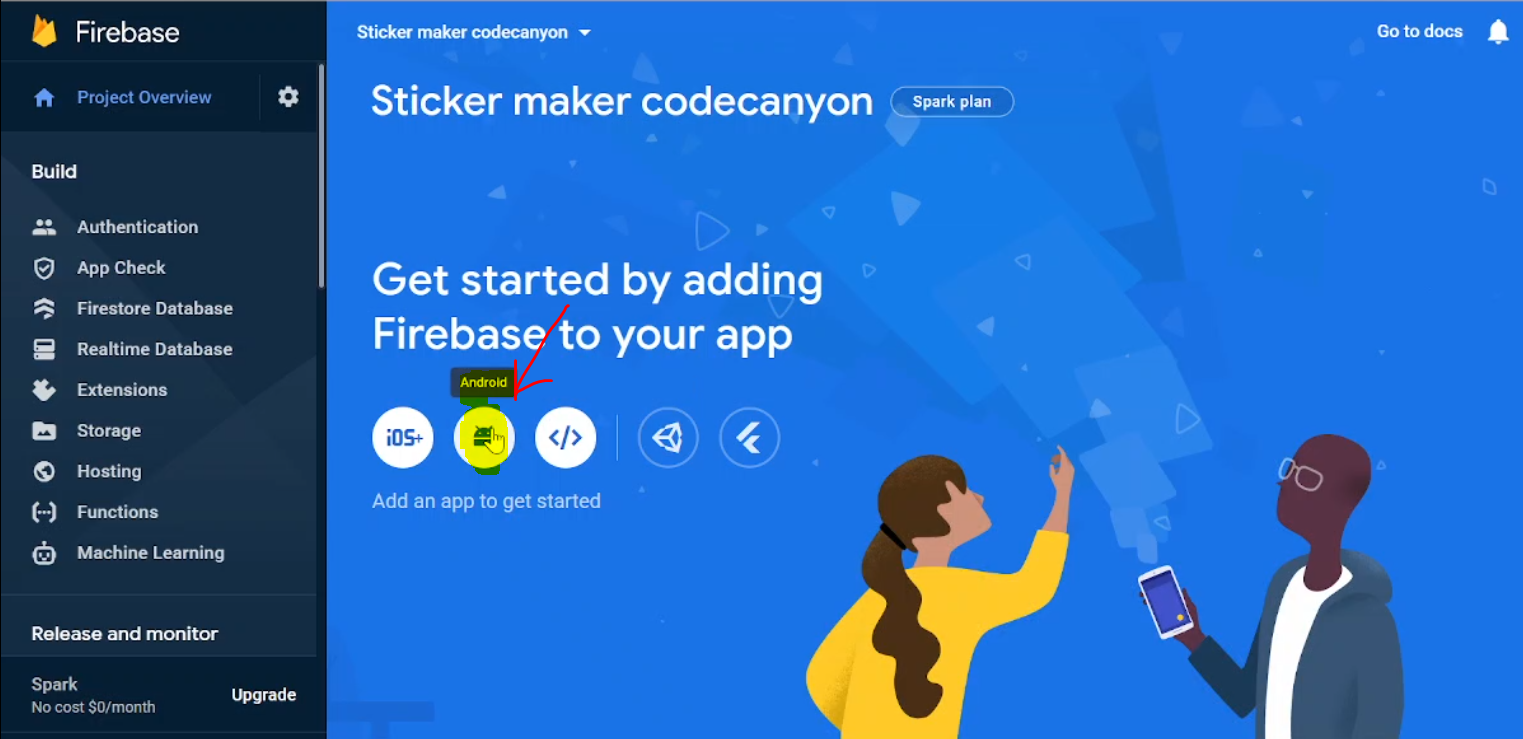
2. Click on Android to create Android App inside our project


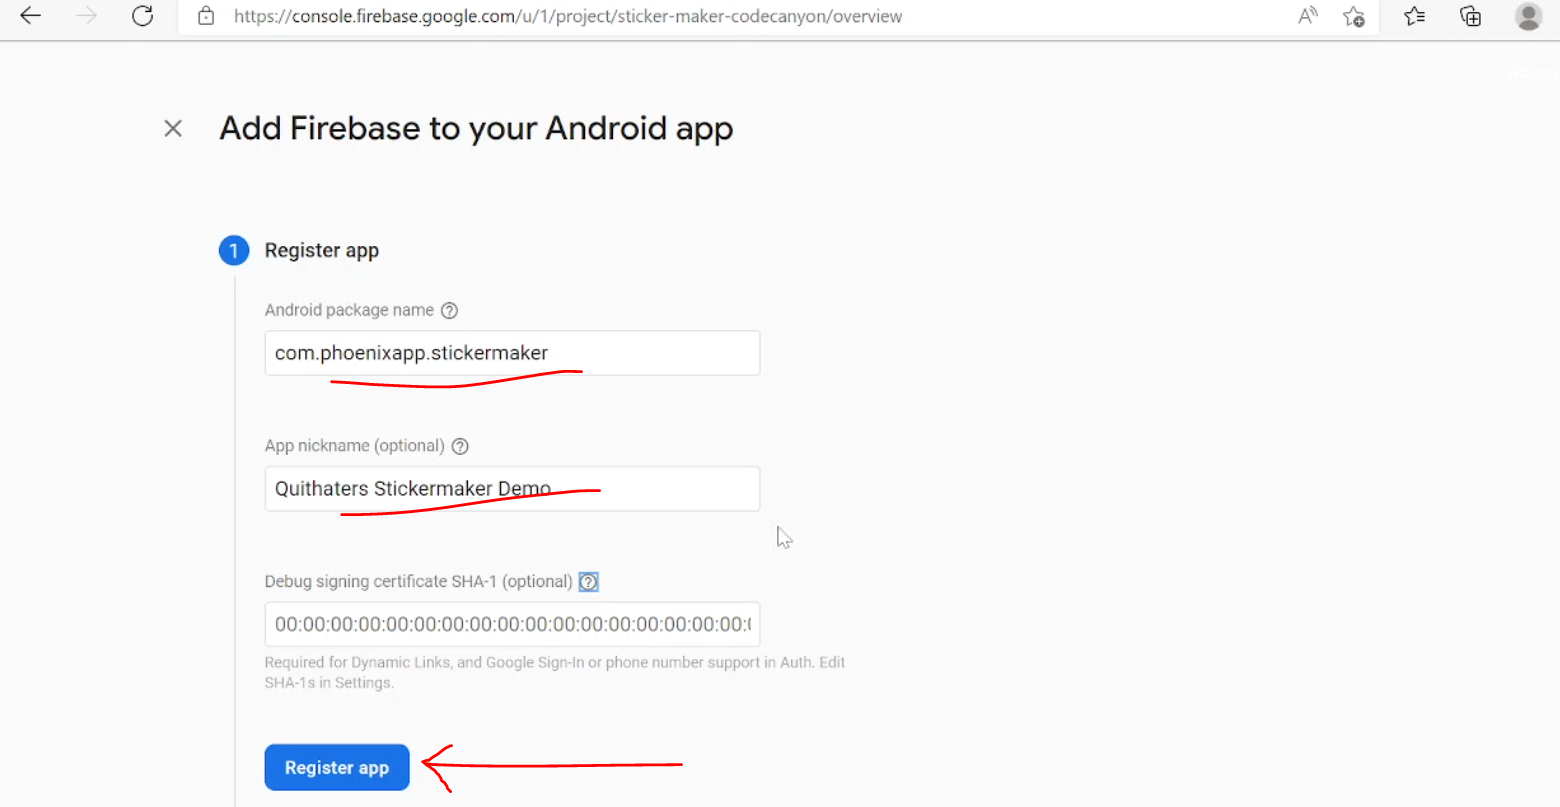
3. Enter the Application Package Name, you will get in AndroidManifest.xml file and click on register.


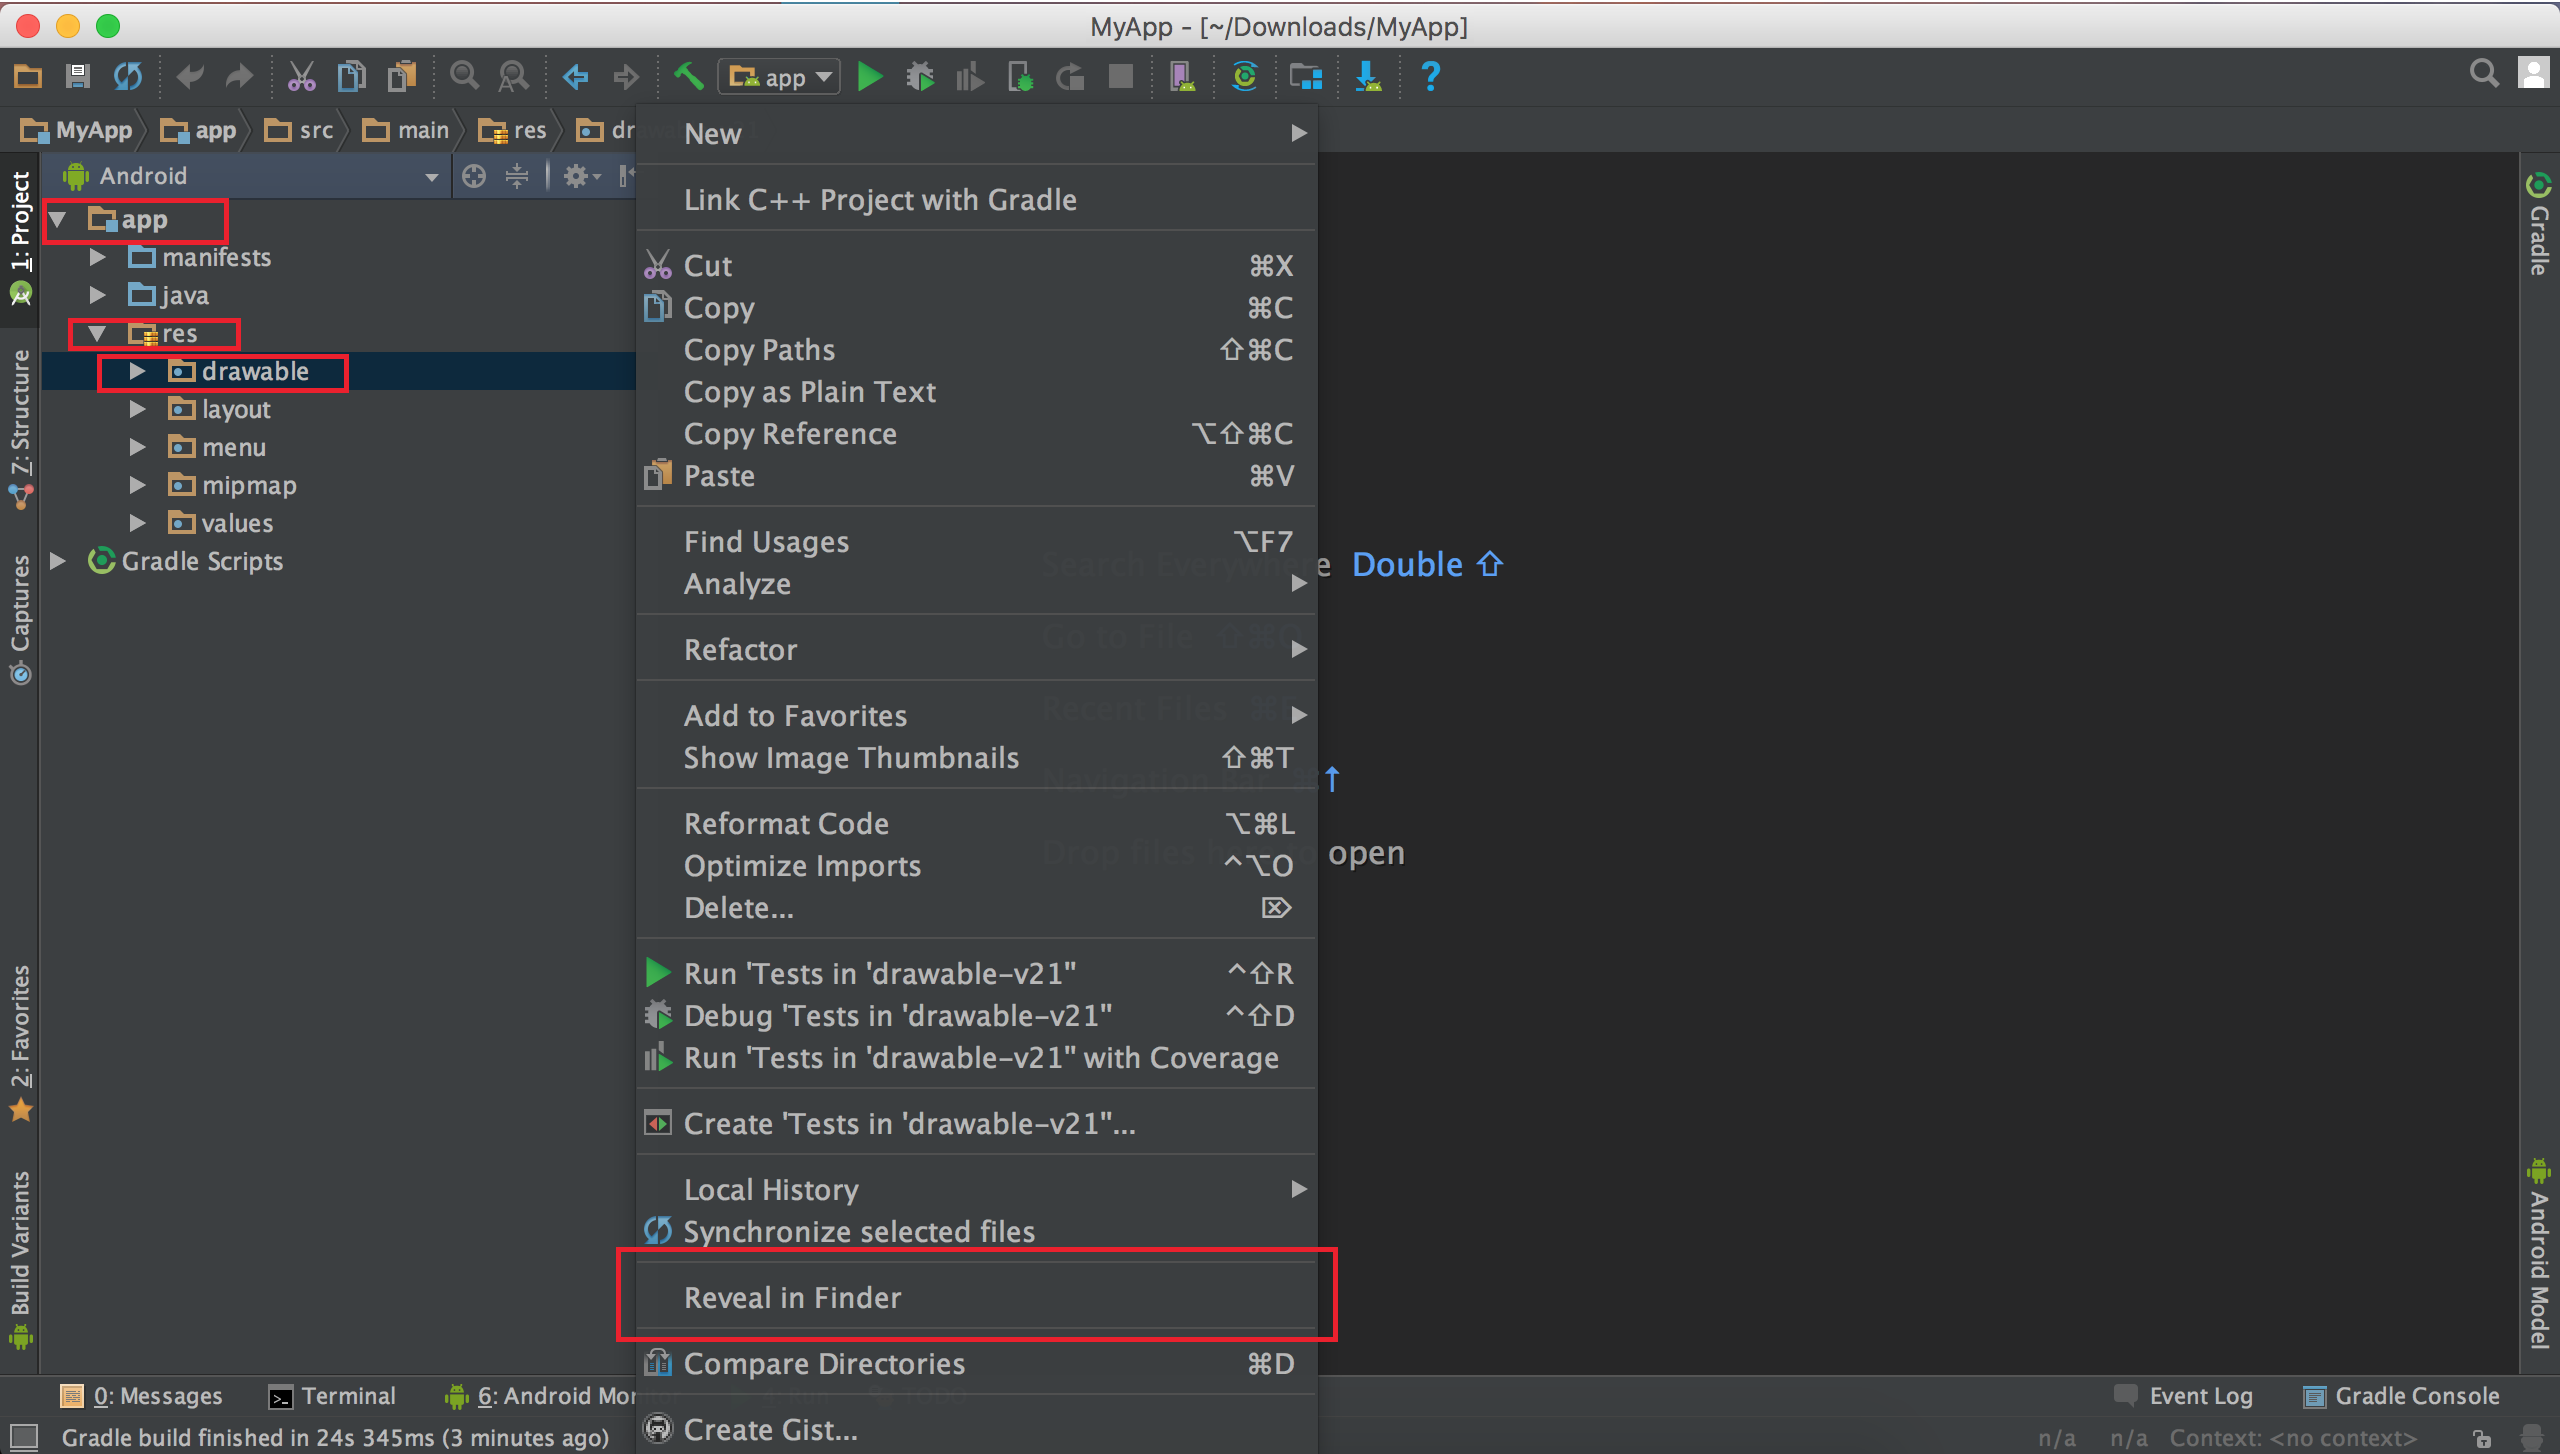
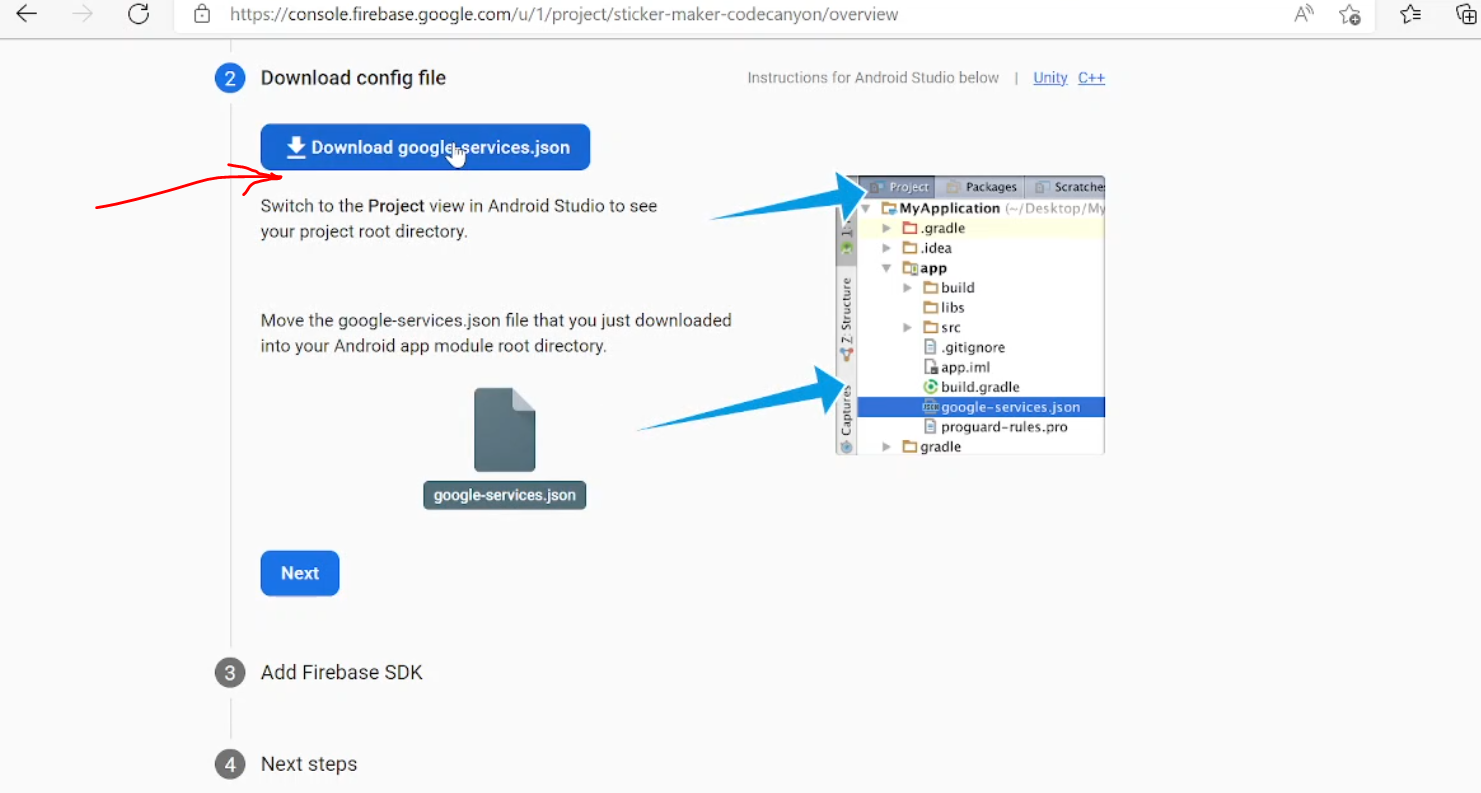
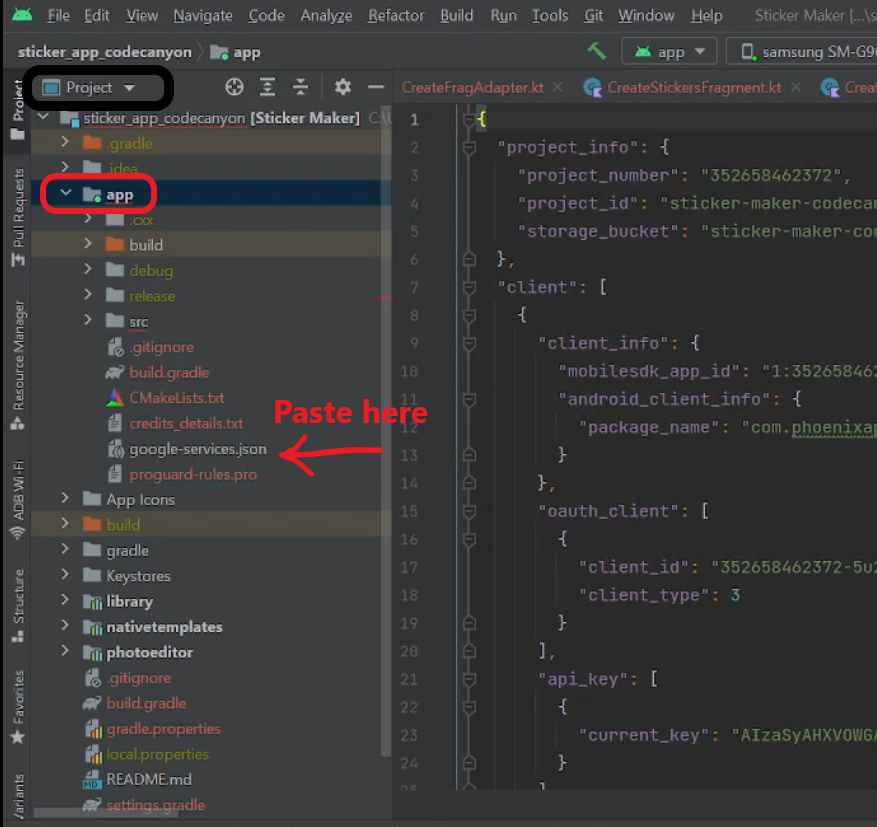
4. Download the Json file and paste/replace in app folder


Please note

  • Don't try to generate APK without config firebase
  • Don't try To sync the project without config firebase

One Signal Configuration - PUSH NOTIFICATION

Go to Onesignal website and create an Account,Please follow documentation - Click here

 <string name="ONESIGNAL_APP_ID">YOUR ONE SIGNAL ID</string> 

Please note

  • Once,you created account -> please go to strings.xml file and add you "ONE SIGNAL ID" in "ONESIGNAL_APP_ID" key

Admob Ads Configuration

After config Firebase now you need to config the Admob Ads Application (this configuratio required to show Googel Ads. )

Go to Google Admob Console and add new app.
Now create Native ad Unit ID, Rewards ad Unit Id and Banner Ad Unit ID and paste in below places.
 Android App>res>values>strings.xml 
and add your Ads ID :
 <string name="AdmobBanner_1">xxxx-xxxx-xxxxx-xxxxx-xxxxxx-xxxxx</string> 
 <string name="admob_native">xxxx-xxxx-xxxxx-xxxxx-xxxxxx-xxxxx</string> 
 <string name="AdmobInterstitial">xxxx-xxxx-xxxxx-xxxxx-xxxxxx-xxxxx</string> 
 <string name="admob_reward">xxxx-xxxx-xxxxx-xxxxx-xxxxxx-xxxxx</string> 


Android Application Customization

After config everything now you app need a customization to take your touch like title,icon,colors ....


Change the Application Details

To change the application name
Go to :

Android App>res>values>strings.xml
And change the application name there :
<string name="app_name">stickers </string>


Change the application colors

To change the application colors
Go to :

Android App>res>values>colors.xml
And change the application colors there :

<color name="colorPrimaryDark">#COLOR_CODE</color> 
<color name="colorAccent">#COLOR_CODE</color>
<color name="stroke_color">#COLOR_CODE</color>
<color name="inactiveAddButtonColor">#COLOR_CODE</color>
<color name="infoPageBackgroundColor">#COLOR_CODE</color>
<color name="actionBarArrowColor">#COLOR_CODE</color>